Wednesday, July 27, 2011

After the class ended Amber and I continued work on our unit. Because we had struggled with removing our void block from the mold, our next step was to conduct experiments to test better ways of how to more easily remove a block when making a void. We cut rods and placed them in plastic cups of concrete. Each rod was treated differently. Our tests were: vaseline, tinfoil, metal sheathing, tapered rod covered in tin foil, bowing up a plastic baggy and sticking it in the concrete, and cotton balls surrounding rod then covered in tin foil. The method which worked best was the cotton ball one. The void piece slid right out of the concrete form like butter :)

Below is a photo of the void created with Cotton surrounding our void piece. Now we are in production mode b/c all our kinks are worked out. Next week we plan to assemble the wall in Amber's backyard. Final photos will be taken.

-Jenna and Amber


Mold with cotton/tinfoil making strategy


Compared to original mold we had to break in order to remove void piece.


The test that worked best!


Two sets of forms made!


Below are photos from the last day of class when we removed our blocks from the mold for the first time (forgot to post earlier)


Tuesday, July 26, 2011

The Whole Waffle

I'll apologize in advance for the lack of photos during construction...I was in the "zone" so to speak and didn't think to take a picture of myself using the table saw.

I talked a bit about my changes last post in "Veggie Waffle: Take 1" so I think I'll just explain in pictures how the big test went.

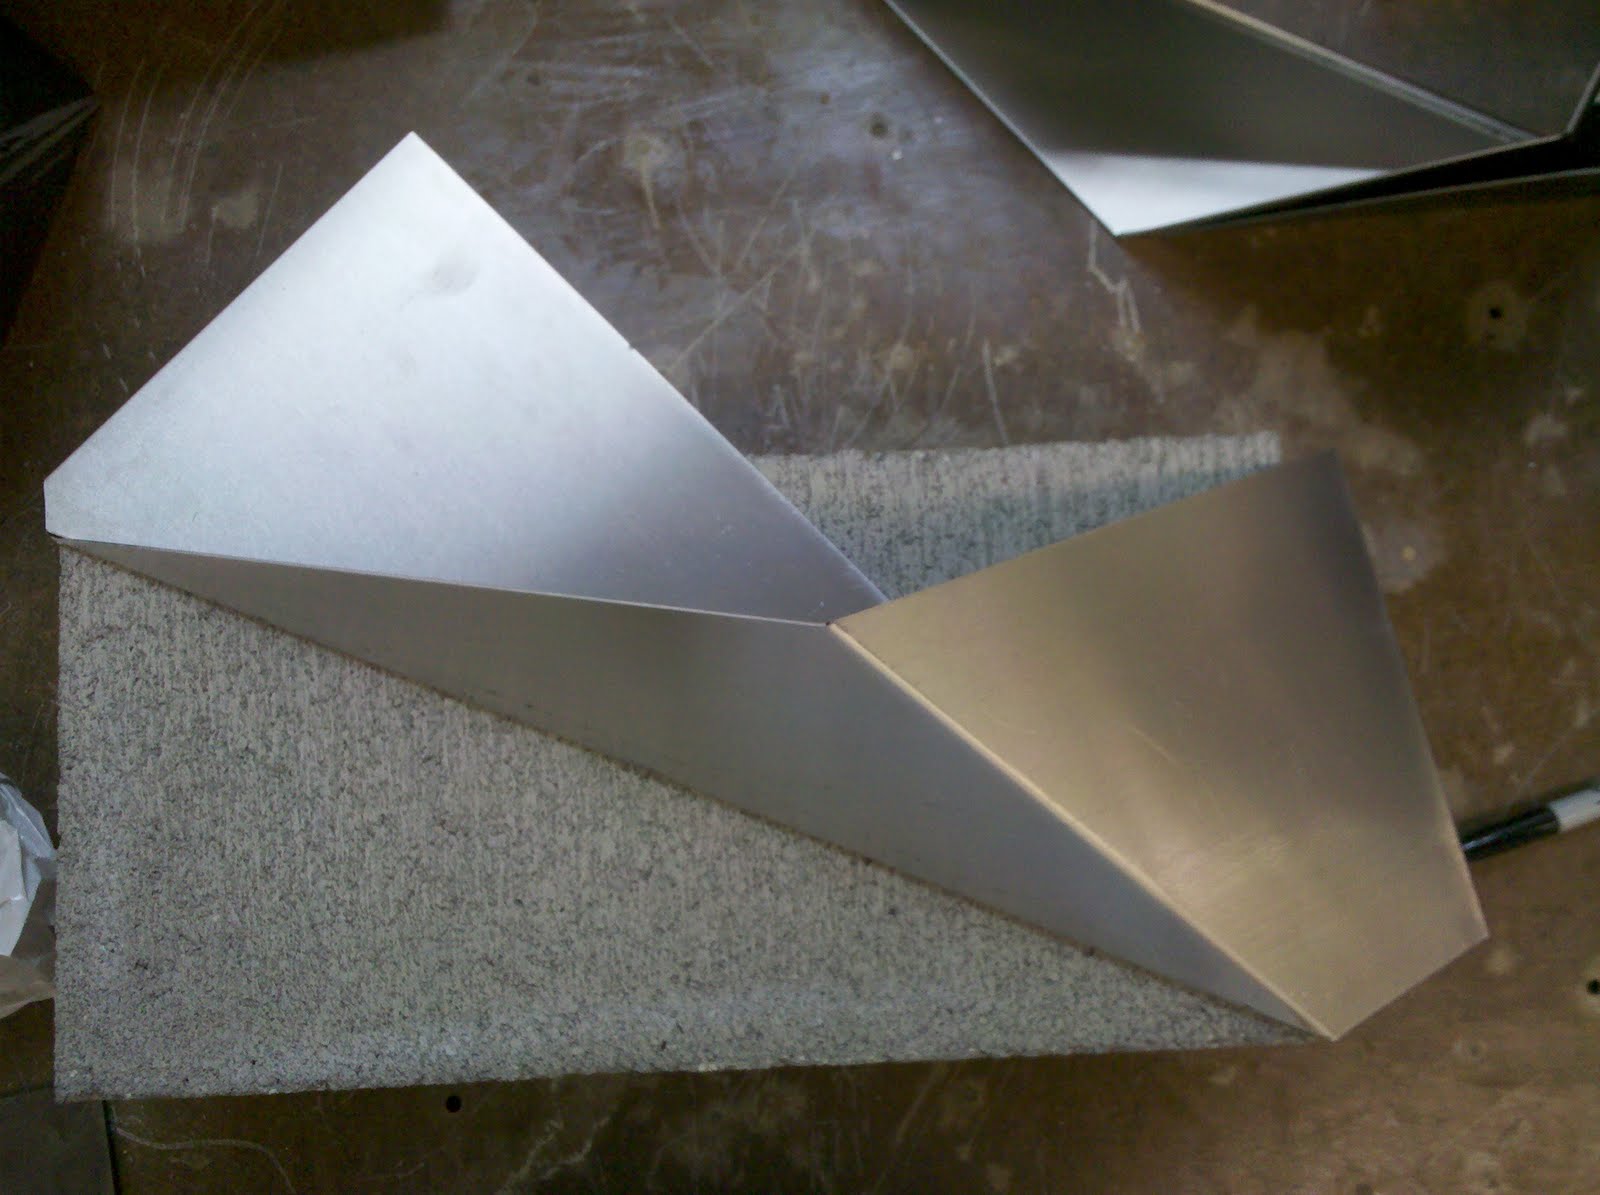
But here is a diagram I created to outline my construction and release process...had to make some changes along the way...but more or less it's the idea.


Here's my formwork... no reinforcing cage yet. Painted and primed with laminated plywood "zigurats" making the void for the cells. The hope is that if I spray enough form release on them those little guys will pop right out!.


Sweet reinforcing cage I made myself with two grades of metal grid stock and rebar tie wire. Took about two hours, but I think it looks good and is probably pretty strong!


Formwork & reinforcing...ready to go.

Concrete Mix
1 part cement : 1 part fine sand
I know this seems really high but after some mock-ups I thought it looked the best by far!

Here are some pictures of my test mixtures.


One of three batches of concrete mix that went into the form. One was twice this size & overall it was just a little too much.

After taking the sides & bottom piece off the idea was to attach drawer pulls to the "zigurats" and they would just slide right out...didn't exactly go that easily. Instead required a prybar and some big muscles.


Rich prying the "zigurats" out

I think the culprit making the removal so difficult was probably the edges of the laminated plywood, when you look at the pictures it doesn't look like a lot but even that little bit of friction made a big difference!


Lesson learned, sand smooth and think about coating the form in something more than primer. Or just use a different construction method.

Everything worked out pretty well though... here is the finished project with one of the little gabion baskets in it.

Thursday, July 14, 2011

Patterned Concrete Planting Blocks...Design


After playing around in Photoshop, this was the first pattern we came up with. However, we decided that it was a little to static, and didn't seem to flow across a large face as much as we would have liked. But, we decided to plug it into AutoCAD anyway and see how we could tweak it.

This wasn't really working for us, and after a while we just felt like we were butting our heads against a wall with this design, so Vivian and Karim decided to try and work up a new pattern, based on our previously agreed-upon design principles (overlapping grids and a dynamic pattern).

Patterned Concrete Planting Blocks


Initial Thoughts:
Our initial concepts developed out of Justin and Karim's patterns from Assignment #2. We wanted to maintain Justin's overlay of two grids--one rotated at 45 degrees from the other--and combine it with the geometric intricacy of Karim's pattern.
I made a concrete mixture using 1 part cement and 2 parts sand and added water when necessary.

I poured the mixture in the mould to the top.


I wrapped the outside of the mould with plastic to add support (so cement wouldn't leak out the cracks)


I removed the mould from the base.


Extrusion of the outside frame was easy. The whole form slid out with no problems. The interior mould is another story.

Disappointingly, the mould didn't work exactly as I hoped. However, if I were to recreate this frame, I know what i would have done differently. Instead of gluing all the pieces of the interior mould together, I would have just installed them and had them supported by wood blocks. I wouldn't have cut the shape out of the base and would have installed handles on each side that would slide out effortlessly. I plan to recreate this frame and completing my structure.

Building Continued


I cut out the center of my base to fit the inner mould (so it would slide out easier) and added wooden blocks to support the frame.

I installed handles to the inner mould to make extrusion easy.

I installed hinges to 2 corners of the pentagon so the shape could open up and ease extrusion.

I put the pieces in place and completed my mould frame.


I painted the inside of my mould with an oil-based primer to also make extrusion easier.

Building Process

First, I found that a pentagon is composed of 5, 36* angles. I cut that angle on my wood pieces using the table saw, and then measured out each piece.

I cut these pieces out using the chop saw.

I made sure that all the pieces fit right together.

After making sure the pieces fit, I had to figure out how they would go together.


I glued the entire inner mould together.

design and building process

My initial sketches were on a chalkboard in the studio. I decided I wanted to focus on the pentagon shape like my prototype. I started plugging in dimensions and figuring out ways I could make an efficient mold that would produce 4 blocks rather than 1.

I put my design on the computer so I could focus on the singular unit as well as the whole mould.


After making multiple copies of my design, I started figuring out extrusion methods. The outer edges would open up and the middle of each unit would be supported by blocks with a handle for leverage.

I made a life-size print to use as a building stencil.

I quickly realized that the multiple unit mould would be way more complicated to extrude than a singular unit, so I switched my design.


I came up with a revised design and extruding method. The diagram below depicts the inner mould being supported by blocks.

Block Pockets - Process

This is how we made the individual pockets! With the kind permission and assistance of our local metal working shop, we devised a method using the metal shear, metal bender, and metal punch/drill.


Each piece of metal was measured. Each pocket actually unfolds to a ~7"x20" rectangle with one corner chopped off.


The chopping!


The bending!


The punching!


And of course constant double and triple checking the angles


Resulted in.......


---------------------------------------------------------------

And then we built our wall. On top of another wall. Located at the Urban Farm next to the new fangled parking lot and compost bins.


Yay!!!